
Learning how to 3D printing works opens up a world of creative possibilities. This technology lets users turn digital designs into physical objects using layered materials. Whether someone wants to build prototypes, create custom parts, or explore a new hobby, 3D printing delivers practical results.
The process might seem technical at first glance. But with the right guidance, beginners can produce their first successful print within hours of unboxing a machine. This guide covers everything newcomers need to know, from selecting equipment to avoiding common pitfalls that waste time and filament.
Table of Contents
ToggleKey Takeaways
- Learning how to 3D printing works is beginner-friendly, and most users can complete their first successful print within hours of setup.
- FDM (Fused Deposition Modeling) printers offer the best balance of affordability and ease of use for newcomers, with quality machines available in the $300–$600 range.
- PLA filament is the ideal starting material due to its low cost, minimal odor, and forgiving print settings.
- Always level the build plate before printing—poor bed adhesion is the leading cause of failed prints.
- Start with simple projects like the “Benchy” test boat to learn how 3D printing settings affect output before tackling complex designs.
- Regular maintenance, including cleaning the build plate and checking for worn nozzles, prevents common printing failures.
Understanding 3D Printing Technology
3D printing builds objects by depositing material layer by layer. A digital file tells the printer exactly where to place each layer. The result is a three-dimensional object that matches the original design.
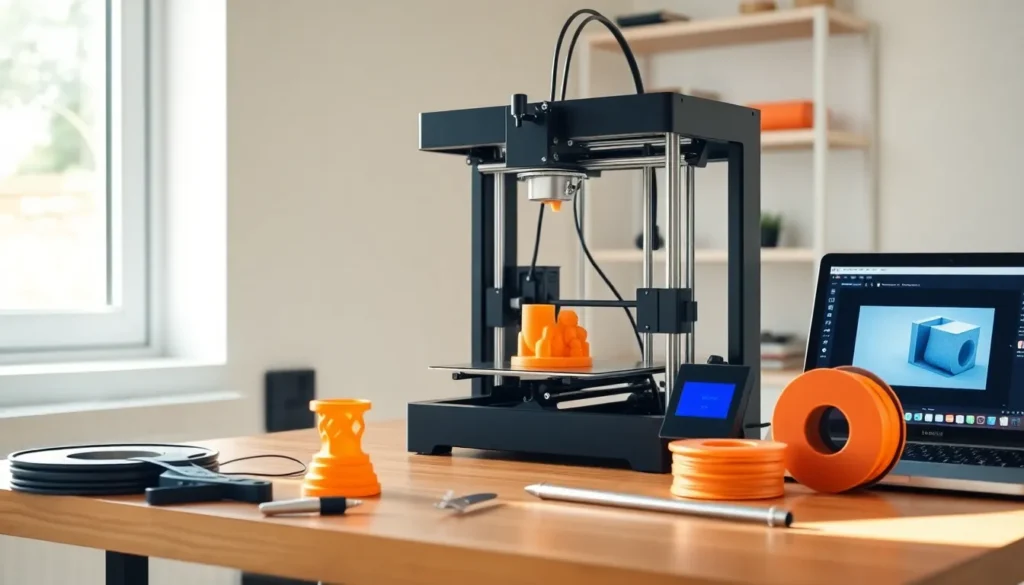
Most consumer 3D printers use a method called Fused Deposition Modeling (FDM). The machine heats plastic filament until it melts, then pushes it through a nozzle onto a build plate. Each layer cools and hardens before the next one goes on top. Think of it like a very precise hot glue gun controlled by a computer.
Other 3D printing methods exist too. Stereolithography (SLA) uses UV light to cure liquid resin into solid shapes. This produces smoother surfaces but costs more to operate. For beginners learning how to 3D printing fits into their projects, FDM offers the best balance of affordability and ease of use.
The software side matters just as much as the hardware. Users need two types of programs: design software to create 3D models and slicer software to convert those models into printer instructions. Free options like Tinkercad and Cura make 3D printing accessible without expensive subscriptions.
Choosing the Right 3D Printer for Your Needs
Budget determines most 3D printer decisions. Entry-level machines start around $200, while professional-grade equipment can exceed $5,000. Most beginners find excellent results in the $300-$600 range.
Build volume defines how large an object the printer can create. A typical beginner printer offers around 220 x 220 x 250mm of space. That’s enough for most hobby projects and small functional parts. Larger volumes cost more and take up more desk space.
Some popular choices for those learning how to 3D printing works include:
- Creality Ender 3 Series: Affordable, reliable, and backed by a huge community of users sharing tips and modifications
- Prusa Mini+: Excellent print quality with strong customer support, though priced higher
- Anycubic Kobra: Good auto-leveling features that reduce setup frustration
Pre-assembled printers cost more but work out of the box. Kit printers save money and teach users how their machine functions. Both approaches have merit depending on someone’s patience and mechanical comfort level.
Read reviews from actual users before buying. Marketing specs don’t always reflect real-world performance. Online communities like Reddit’s r/3Dprinting offer honest feedback on specific models.
Essential Materials and Setup Requirements
PLA filament serves as the standard starting material for 3D printing. It’s cheap, easy to print, and produces minimal odor. A 1kg spool costs between $15-25 and can create dozens of small objects.
Other filament options include:
- PETG: Stronger than PLA with better heat resistance
- ABS: Durable but requires an enclosed printer and good ventilation
- TPU: Flexible material for phone cases or gaskets
Stick with PLA while learning how to 3D printing parameters affect results. Branch out once the basics feel comfortable.
Setup requirements stay minimal. A stable table or desk provides the foundation. Printers vibrate during operation, so flimsy surfaces cause print quality issues. The room should stay between 60-75°F without drafts blowing across the build plate.
A few tools make life easier: flush cutters for removing support material, a spatula for prying prints off the bed, and isopropyl alcohol for cleaning the build surface. These items cost under $20 total and prevent common frustrations.
Most printers connect via USB or SD card. WiFi-enabled models let users send files remotely, which becomes convenient for anyone who designs on a separate computer.
Creating Your First 3D Print Step by Step
Success with 3D printing follows a predictable sequence. Here’s the process broken into clear steps:
Step 1: Level the Build Plate
The nozzle must maintain consistent distance from the print surface. Most printers include a leveling routine in their menu. Use a piece of paper as a feeler gauge, the nozzle should barely grip the paper without tearing it.
Step 2: Load Filament
Heat the nozzle to the filament’s recommended temperature (usually 200-210°C for PLA). Feed the filament through the extruder until plastic flows from the nozzle. This confirms everything works before starting a print.
Step 3: Find or Create a Model
Download a beginner-friendly file from Thingiverse or Printables. The classic “Benchy” boat tests multiple 3D printing skills at once. It reveals whether the printer needs calibration adjustments.
Step 4: Slice the Model
Open the file in slicer software. Select PLA as the material and leave other settings at default values. The slicer generates a .gcode file containing exact movement instructions.
Step 5: Start the Print
Transfer the file to the printer and begin. Watch the first layer carefully, it determines whether the print succeeds. Good first layers look flat and slightly squished. Gaps or curling indicate bed leveling problems.
That first successful print builds confidence. Each subsequent project teaches something new about how to 3D printing parameters interact.
Common Mistakes to Avoid as a Beginner
New users repeat the same errors. Awareness prevents wasted time and filament.
Skipping Bed Leveling
Poor adhesion causes most failed prints. Check leveling before every print session until it becomes routine. Some filaments need reapplication of glue stick or hairspray for extra grip.
Printing Too Fast
Default speeds work well, but impatient users often crank them up. Higher speeds sacrifice quality and increase failure rates. Learn how to 3D printing settings affect output before experimenting with speed.
Ignoring Temperature Settings
Every filament brand prints slightly differently. Start with the manufacturer’s recommended temperature, then adjust in 5-degree increments if problems appear. Stringing suggests too-hot nozzle temps. Poor layer adhesion means too cold.
Choosing Overly Ambitious Projects
That detailed dragon statue looks amazing. It will also fail spectacularly as a first print. Start with simple geometric shapes and basic functional parts. Build skills gradually.
Not Maintaining the Printer
Dust accumulates. Nozzles clog. Belts loosen over time. Schedule monthly maintenance checks. Clean the build plate with isopropyl alcohol weekly. Replace worn nozzles before they ruin prints.
Giving Up Too Quickly
3D printing involves a learning curve. Failed prints happen to everyone, even experienced users. Each failure teaches something valuable about the machine and materials.