Ever wondered how long it takes to bring your wildest 3D dreams to life? Picture this: you’ve designed the coolest gadget or the quirkiest figurine, and now you’re just staring at the printer, hoping it doesn’t take longer than a Netflix binge. Spoiler alert: the answer isn’t as straightforward as you might think.
3D printing is a blend of art and science, and the time it takes can vary more than a cat video on the internet. From the complexity of the design to the type of printer used, several factors play a role in your wait time. So grab a snack and settle in, because understanding the timeline of 3D printing might just be the key to avoiding those awkward silence moments while your creation comes to life.
Overview Of 3D Printing Times
3D printing times can vary greatly based on several factors. Understanding these elements helps set realistic expectations for any 3D printing project.
Factors That Affect Printing Duration
Design complexity plays a significant role in printing time. Intricate designs with fine details take longer to print than simple, geometric shapes. Printer type impacts duration as well; high-quality printers often produce detailed prints more slowly than faster, less precise models. Material choice matters too, with certain filaments, like ABS, requiring longer printing times compared to PLA. Layer height also influences the pace; thinner layers yield finer details but extend the total print time.
Typical Timeframes For Different Types Of 3D Printing
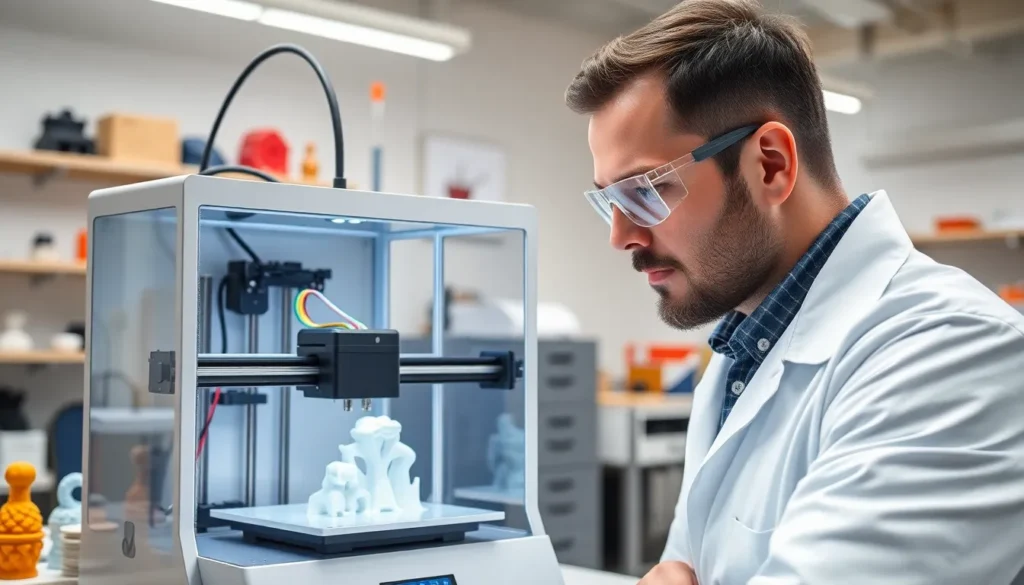
FDM printers commonly take between 1 to 24 hours to create objects. SLA methods can produce smaller parts in about 1 to 6 hours. SLS printing typically ranges from 12 to 48 hours, depending on the size and number of items. Industrial-grade 3D printers may operate faster, with part production done in mere hours for larger builds. Overall, print times vary considerably based on the chosen technology and the specifics of the print job.
Breakdown Of The 3D Printing Process
The 3D printing process involves multiple phases that contribute to the total time required for creation. Understanding each phase helps set realistic expectations.
Design Phase
Time spent in the design phase can vary widely. Designers often take several hours to days perfecting their 3D models. Complex shapes with intricate details extend this timeframe, while simpler designs require less time. Utilizing design software with built-in features can streamline the creation process. Iterative adjustments may cause additional delays, so planning design specifics in advance helps reduce the overall time.
Printing Phase
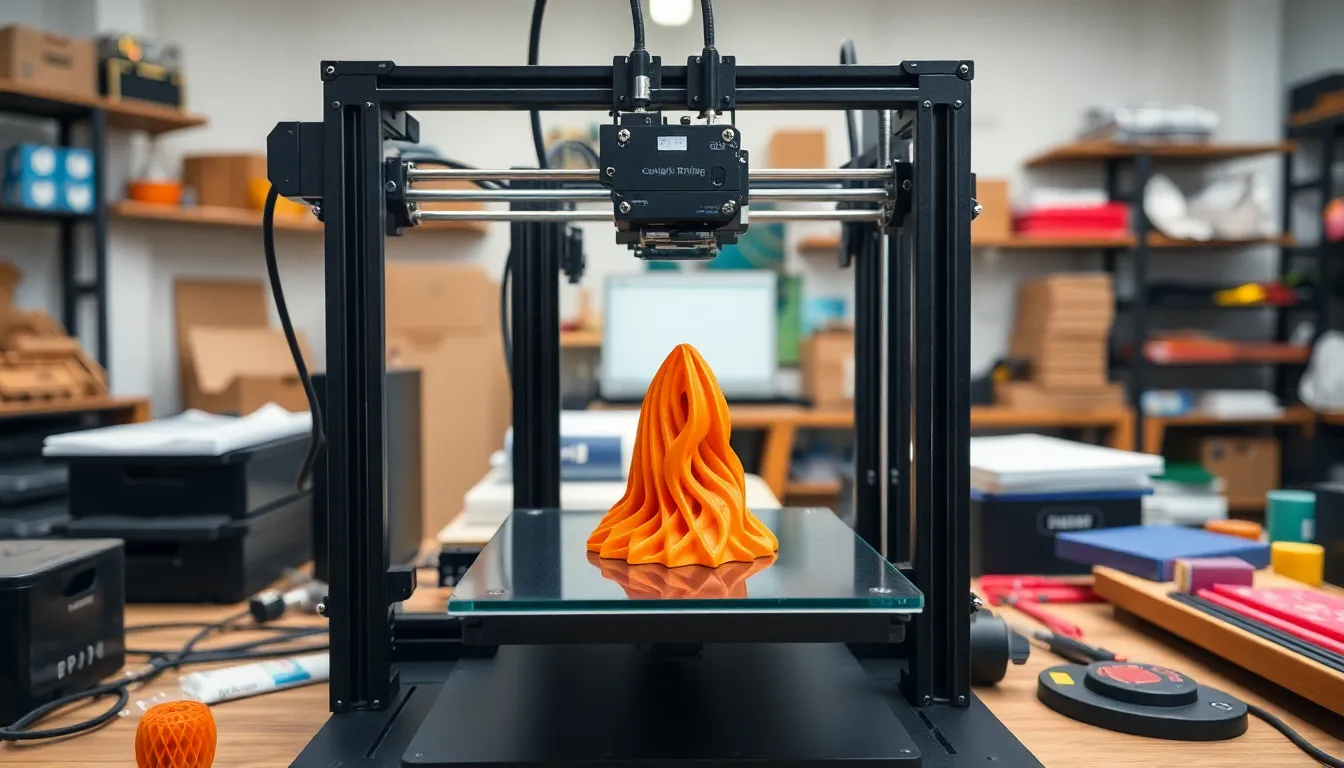
The printing phase carries significant weight in the overall timeframe. Fused Deposition Modeling (FDM) printers generally take between 1 to 24 hours based on model intricacy. Resins and materials chosen can influence the printing duration as well. For instance, SLA methods typically range from 1 to 6 hours for smaller portions. Selective Laser Sintering (SLS) techniques usually span from 12 to 48 hours for larger items. Printer type and settings also play crucial roles in determining the final print time.
Post-Processing Phase
Post-processing occupies critical time after printing finishes. Activities like support removal and surface smoothing often take several hours. Techniques such as painting or curing can extend this phase further. Depending on the material, specific requirements may add additional time. Each step in the post-processing phase contributes significantly to the overall duration, ensuring the final product meets quality standards.
Comparing 3D Printing Times To Traditional Manufacturing
3D printing processes significantly differ from traditional manufacturing timelines. In traditional methods, producing items often involves multiple steps, including molding, machining, and assembly. Those steps can extend production time to weeks or even months, especially for complex components.
Manufacturing lead times vary based on material and process but are generally longer compared to 3D printing. While traditional methods provide high-volume production efficiency, they require extensive setup time and tooling changes. In contrast, 3D printing enables quicker iterations and adjustments, allowing designers to modify prints efficiently.
3D printing offers notable time savings for low-volume production. For instance, FDM printers typically take 1 to 24 hours, depending on the print complexity, while traditionally manufactured items may need substantial lead time. SLA printers, which manufacture smaller parts, have a printing time of 1 to 6 hours, exemplifying rapid production for prototyping needs.
Post-processing adds time in both 3D printing and traditional manufacturing. Traditional methods may involve grinding, polishing, or coating, impacting overall production timelines. Nevertheless, post-processing in 3D printing, including support removal and surface smoothing, can require additional hours, ensuring high-quality finishes.
Traditional manufacturing provides speed advantages for bulk production, yet 3D printing excels in flexibility and customization. Industries focusing on prototyping or small batches benefit from the shorter lead times associated with 3D printing. Understanding these differences is crucial for determining the most efficient manufacturing method based on specific project requirements.
Tips For Reducing 3D Printing Times
Reducing 3D printing times involves strategic adjustments throughout the process. Several key factors come into play.
Optimizing Model Design
Simplifying a 3D model significantly cuts printing time. Reducing overall complexity lessens the number of details that need printing. Bracing models or incorporating internal supports can help maintain structure without adding to the printing duration. Modifying layer heights also plays a crucial role; thicker layers lead to faster prints. Additionally, using parametric design software streamlines adjustments, enabling quicker iterations. Designers should consider the final application when refining models to balance detail with speed.
Choosing The Right Printer Settings
Selecting appropriate printer settings optimizes print time effectively. Layer height determination impacts overall speed — thicker layers usually result in shorter print durations. Print speed settings should match the model’s intricacy; faster speeds work well for simpler designs. Temperature settings must also align with the material to minimize warping, leading to smoother prints. Choosing the right infill density influences both time and material usage; lower densities reduce printing times. Activation of features such as draft mode can further enhance speed while maintaining quality.
3D printing is a dynamic process influenced by various factors that affect the time required to create a final product. Understanding these elements empowers creators to set realistic expectations and optimize their projects. The interplay between design complexity printer type and post-processing needs can significantly alter the timeline.
By applying strategies to simplify designs and adjust printer settings it’s possible to enhance efficiency without sacrificing quality. As technology advances and techniques improve the future of 3D printing promises even faster and more versatile production capabilities. Embracing these insights will help individuals navigate the 3D printing landscape with confidence.